• HOME
  • ABOUT
  • TUTORIALS
  • CONTACT

Got Joy Creations

Holiday Card Series 2021 – Day 10 Avery Elle

November 19, 2021

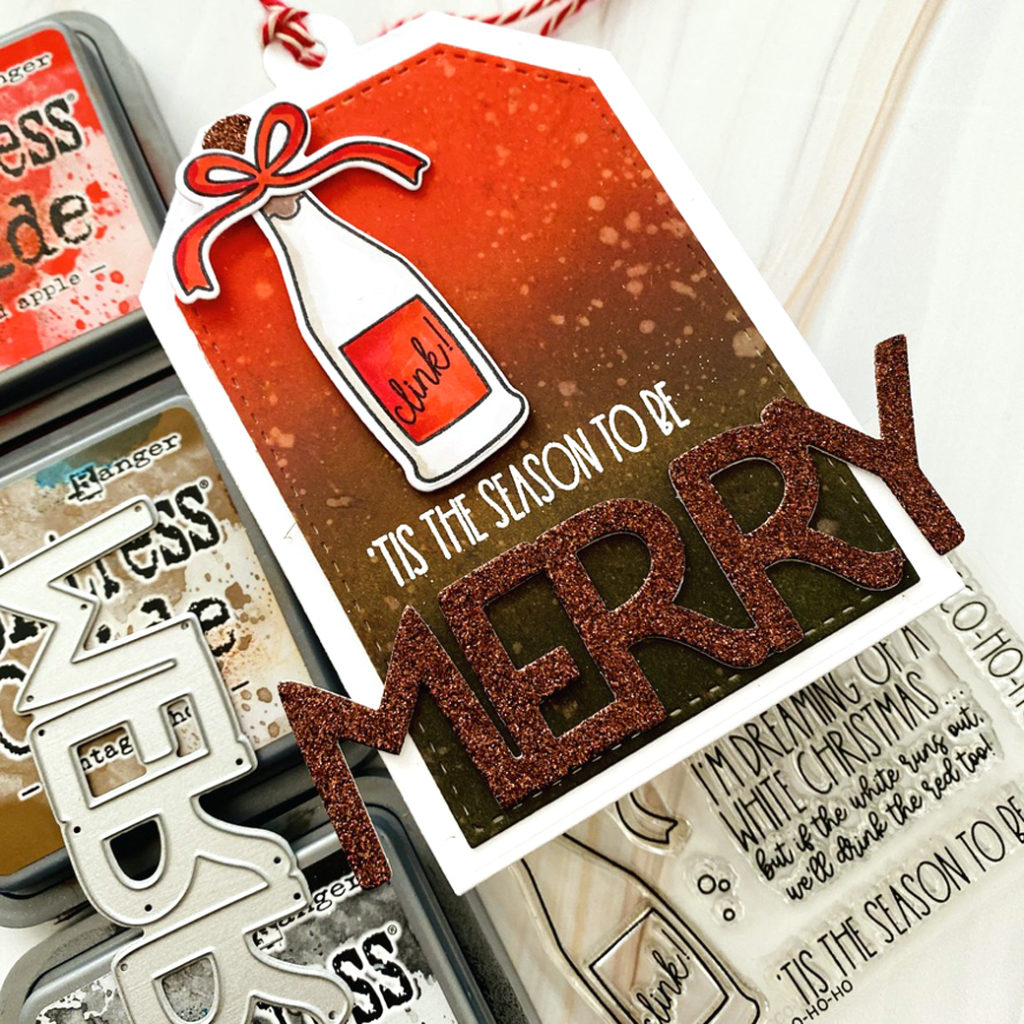
Hello everyone. Well today is day 10 and the last day of the holiday card series. I have a tutorial for you where I create tags for my wine gift giving this year. Products are from Avery Elle and they are perfect for gift giving.


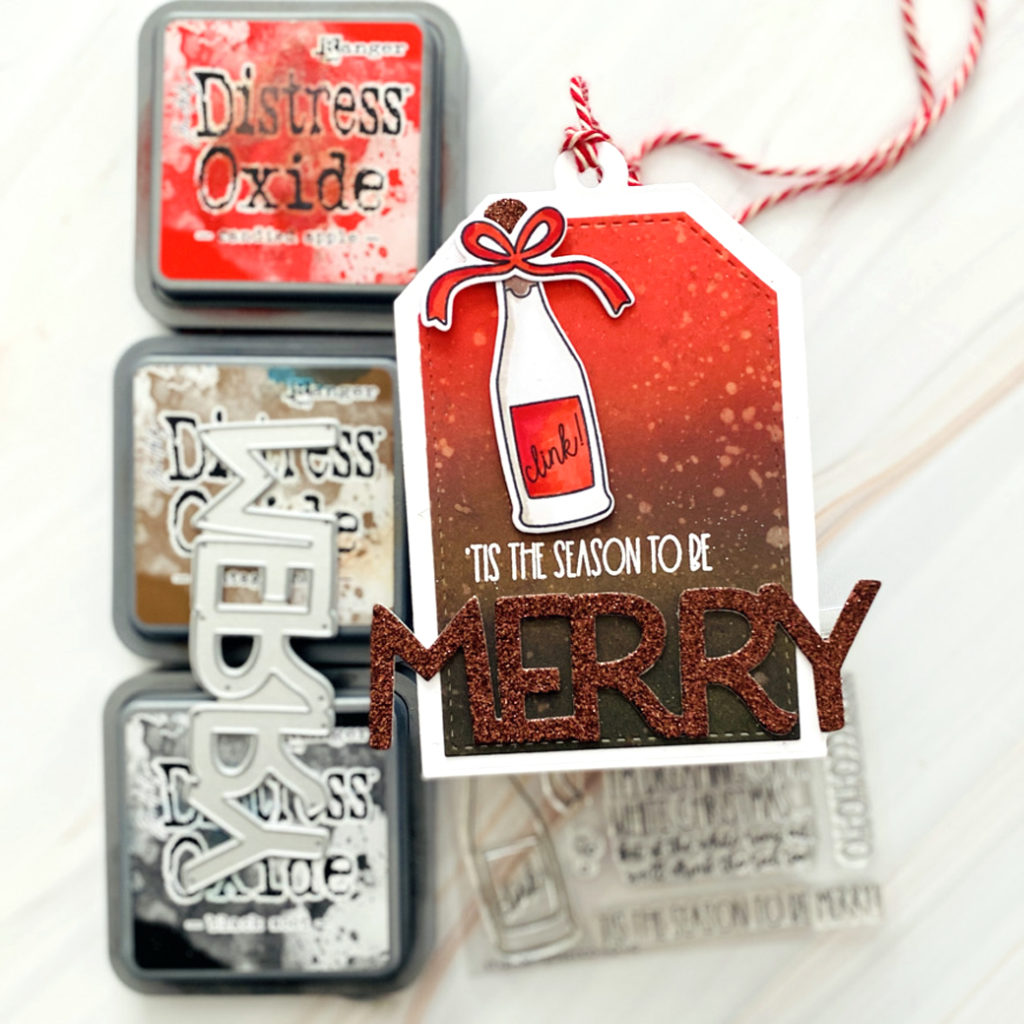
Blending such beautiful inks for tag making really makes gift giving even more beautiful.


You can watch the tutorial right here or on my Youtube channel.

Thank you everyone for all your lovely comments on this years tutorials. I’m so happy I was able to bring this series to you again this year. I’ve listed the products below each tutorial on Youtube and here on my blog in case you want to do a little shopping. Again thank’s again for your continued support.


1 Comment CATEGORIES // Avery Elle, Card Series, Holiday Card Series, Tutorials

Holiday Card Series 2019 – Day 12 Avery Elle

November 28, 2019

Hey everyone.  It’s Dana back with you today.  Who’s ready for an Avery Elle shaker card?  I’m so excited to share this card with you because I absolutely love the way it turned out.  Let me show you the card first.

Avery Elle

Mixing several Avery Elle stamps made this card super easy to come together.  This card is going to my sweet niece Ariah for Christmas.  She watches her titi’s videos with her grandmother and I hope she loves how it came together.

Avery Elle


All products for the video are listed below for your shopping convenience. I’ve used affiliate links at no cost to you.  Thank you for your support.

For my bonus card today I used the Santa Bear to make a quick and easy holiday card. This card was stamped with fade out ink onto watercolor paper.  I kept the card simply with watercoloring and a few gems.  For the puffy white elements on the card I used puffy dimensional paint.  I love adding this product to my cards during the holidays.

Avery Elle Santa Bear


Avery Elle

Sometimes you just need a cute focal point on your card and a sentiment.  No layers or extras for this one. Remember, you can make your holiday cards easy and fun.  Never let a piece of paper get the best of you. 😉 I’ve been so inspired by this card series and all the different style each of us are sharing. So you can pick a style you see here and run with it.  Or you can get more colorful and add the extras that you like to your cards.

Avery Elle


Thanks for stopping by today.  Make sure to keep those comments coming for your chance to win one of the amazing giveaways we have.  There will be another fabulous guest designer back here tomorrow. Make sure to return and see what she has for you. Have an awesome day everyone!


11 Comments CATEGORIES // Avery Elle, Holiday Card Series, Tutorials

Brea Reese Alcohol Ink Rainbow Shaker Card YES PLEASE

June 24, 2019

Hey peeps.  I’m sharing a Brea Reese alcohol ink Rainbow shaker card with you today.  Playing with the Brea Reese alcohol inks is so much fun.  As you can tell from the pictures I’m still working my rainbow groove.  I can’t help it, it makes me happy.  For the cards today I laid out my Brea Reese alcohol inks in rainbow color and worked on the Brea Reese waterproof paper.

To start off my shaker card I pulled out my Avery Elle Rainbow die (which I have fallen in love with) and die cut out my rainbow. I trimmed down this piece and made sure to keep all the scraps. Placing a piece of acetate behind this piece to keep all the glittery bits we will fill the shaker with.  Next I used double sided foam take to make wells for each section and filled each one with sequins.   To close up the shaker, I stenciled a background using the Rays The Roof stencil from Heffy Doodle.  That beautiful yellow is mustard seed distress ink.

Brea Reese Rainbow Shaker Card

To make the clouds at the top and bottom of my rainbow, used the Hello Bluebird After The Rain Scene dies. On one of the clouds I stamped a sentiment from the Rainbows stamp set from Avery Elle. All that was left was to add the clouds to the rainbow. To finish off the card, I took the scrap piece of rainbow alcohol ink paper and cut two thin strips.  I glued these strips onto a piece of 4.25 x 5.5 piece of card stock.  Once the glue dried, I trimmed this piece of paper down just a tad bit so it would fit on a card base.  The card base color is fog from Simon Says Stamp. The perfect light gray for this card.

Brea Reese Rainbow card

A beautiful shaker card is now complete.  Look how yummy that ink looks on the rainbow.  The colors blend so pretty together.  I’ll be sharing another card using the left over pieces from this card on a project soon.  For more projects using Brea Reese alcohol inks you can click here. I’ve linked all the products below for your shopping convenience.

Have a wonderful day everyone.  I’ll see you back here soon!


Leave a Comment CATEGORIES // Alcohol Inks, Brea Reese Alcohol Inks, Shaker Cards

Easy Copic Coloring With Avery Elle Phonomenal Stamp Set

February 25, 2019

Hey peeps. Easy Copic coloring is my go to when I’m just getting back in the swing of things.  I haven’t had the chance to really get a new video up due to a death in my family and then battling a head cold however to get me back in the swing of things I’m sharing a tutorial doing some easy Copic coloring with a great stamp set from Avery Elle.


Easy Copic Coloring

I fell in love with this stamp set as soon as I saw it at Creativation.  It’s call Phonomenal and it give you so many cute sentiments and ingredients for a pho inspired bowl of soup.  This was a great opportunity to do some easy Copic coloring with zero stress.  I’m playing catch up on the Daily Marker 30 day color challenge and this was a great way to color up some images.  I have a quick tutorial to sharing how this card can together.  Here are the Copic colors I used today.

Shrimp: YR000 and YR02
Noodles: E41 and E42
Red Pepper: R14 and R27
Leaf YG17 and YG45
Lime YG21, YG23 and YG25
Chopsticks: E30 and E31
Egg: Y04, Y15, N0 and colorless blender
Bowl: B000 and B00
Broth: 31


Easy Copic Coloring

Here’s a quick tutorial.  You can watch it here or over at my Youtube channel mzdanajoy.  I’ve used affiliate links for your convenience at no cost to you.


Thanks for stopping by today.  I’ll see you back here tomorrow for more inspiration.


2 Comments CATEGORIES // Avery Elle, Birthday Cards, Copic Coloring, Tutorials

  • Facebook
  • Instagram
  • Periscope
  • Pinterest
  • YouTube

Hello

Hello

Owner of Got Joy Creations. I have a great passion for making items that bring joy and smiles to others.

LOOKING FOR SOMETHING?

Subscribe to Updates

Ink Combos Guide

Ink Combos Guide

POWER PUFFS ENAMEL PIN

Power In These Puffs

BUY YOUR PIN NOW

ARCHIVE

Copyright

I ask that you please do not copy my work for submission to magazines or contest. All contents on this blog are © Dana Joy. I love sharing my work but any direct copying from my blog is infringement of copyright. However, if you are inspired by my projects please feel free to recreate them for your own personal use.

CATEGORIES

  • Alcohol Inks
  • All Occassion
  • Altenew
  • Avery Elle
  • Birthday Cards
  • Blog Hop
  • Brea Reese Alcohol Inks
  • Card Series
  • Christmas Cards
  • Concord & 9th
  • Copic Coloring
  • Crossstitching
  • Decofoil Flock
  • Distress Inks
  • Fall Cards
  • Foiling
  • Friendship
  • Gift tags
  • Gina K. Designs
  • Hero Arts
  • Holiday Card Series
  • Holiday Cards
  • Ink On 3
  • Interactive Cards
  • Mama Elephant
  • MFT
  • Miss You
  • Mix Media
  • Papertrey Ink
  • Pink and Main
  • Pink Fresh Studio
  • Pretty Pink Posh
  • Shaker Cards
  • Simon Says Stamp
  • spellinders
  • Stitching
  • Sunny Studio
  • Technique Tuesday
  • The Daily Marker 30 Day Color Challenge
  • The Ink Blot Shop
  • Thermoweb
  • Thinking Of You
  • Tutorials
  • Uncategorized
  • Unity Collection
  • Valentine's Day
  • Waffle Flower
  • watercolor

mzdanajoy

Dana Joy 🎨 Papercraft Blogger
It’s countdown day for the next @heroarts My Mon It’s countdown day for the next @heroarts My Monthly Hero kits. Both the classic and premium kit will be available this Monday!! Set your alarm to grab yours. 

Or even better, start a subscription! You will receive your kit automatically each month. You will never have to worry about missing out. 

See you back here Monday! 

#heroarts #heroartsmymonthlyhero #cardmakingideas #cardmakers #cardkit
I'm so EXCITED!!! It's release day for the new @he I'm so EXCITED!!! It's release day for the new @heroarts Summer Catalog for 2023 and it's AWESOME!! There are new products in the CommUNITY line that I'm super happy about and even more amazing products to play with.

The blog hop is now live so join us and hop around. There really is so much inspiration for this release that you don't want to miss. And let's not forget the giveaway. So make sure to head on over to my blog where the hop has started. I also have links to all the products.

Thanks @heroarts for making my heart happy with your amazing releases. So proud to be a part of the family.

#heroarts #cardmaking #heroartsstamps #cardmakers #cardmakersofinstgram  #sharehandmadecards #sharehandmadehappiness #newrelease
Sweet treats are on the blog. I loved using this g Sweet treats are on the blog. I loved using this gum ball machine die from @heroarts. My husband have this same type of gum ball machine in his office. I used to have it in my office when I worked. 

Head on over to my blog for all the details. Have a great Saturday everyone! 

#heroarts #diecutting #gumballmachine #cardmaking #cardmakingismysuperpower #cardmakerofinstagram
Happy Friday everyone! I'm back with a tutorial sh Happy Friday everyone! I'm back with a tutorial showing how to make fast and easy cards when you already have images colored. These cards were so fun to make and making multiples would be a breeze.

The link for the tutorial is in my bio. Please leave any comments under the tutorial if you would like me to make more cards like this or to share fast and easy backgrounds for your next card. 

#cardmaking #cardmakingfun #cardmakingideas #cardmakinghobby #cardmakingvideo #cardmakingismysuperpower #heroarts #heroartsink #heroartsstamps #heroartsdies
I’m so pleased to have @carrie_ingram_triner as I’m so pleased to have @carrie_ingram_triner as this month’s @heroarts CommUNITY guest. Carrie is such a light in this crafting community and her talent is endless. 

Please check out her cards and her bio on the Hero Arts blog. You will be glad you did. 

Thanks Carrie for your amazing work. Keep doing great things!! 

#heroarts #heroartsunitycollection #heroartsstamps #cardmaking #cardmakers
Hey everyone. Today is an exciting day. I’m on t Hey everyone. Today is an exciting day. I’m on the @heroarts blog today with a tutorial. I’ll work you through the steps to creat this rainbow z-fold card as well as showing you how to stretch your stamps.

Head on over to the Hero Arts blog for the link to the tutorial. Also I have the list of supplies I used on the blog an the Hero Arts YouTube channel. The link to the tutorial is in my bio.

#heroarts #heroartsstamps #inkblending #inkblendingbackground #inkblendedbackground #cardmaking #cardmakingtutorial #cardmakersofinstagram #cardmaker
Morning everyone. I have a card for you today. Thi Morning everyone. I have a card for you today. This adorable image is from @heroarts called You’re Dynamite Bundle. These roller skates remind me of my childhood for sure. The Starlight Rays stencil also from Hero Arts was the perfect background for my skates.

To switch thing up on your cards, try stenciling onto sand or kraft cardstock. It really does give your card a different look. I have all the products used for this card over on my blog. You can find the link in my bio

Have a wonderful day everyone.

#heroarts #heroartsstamps #heroartsfancydies #cardmaking #cardmakingideas #sharehandmadekindness #cardmaker #cardmakersofinstagram
Completed the Clever Poppy Home Sweet Home embroid Completed the Clever Poppy Home Sweet Home embroidery piece. This piece was so relaxing to complete. The stitches are for beginner embroiders and were easy to complete. 

One of my favorite stitches is the french knot and there were plenty to practice with on this piece. Thanks again Julie for your energy and guidance on completing this piece. 

DMC floss colors were 368, 470, 26, 155, 727, 963, 957, 3032 and Iris floss 228. 

#embroidery #embroider #embroiderydesign #embroiderersofinstagram #embroideryart #embroiderylove #embroideredcollection #embrodery #dmcthreads #dmcfloss #dmcembroidery
Load More... Follow on Instagram

© 2018 GOT JOY CREATIONS

THEME BY ECLAIR DESIGNS