• HOME
  • ABOUT
  • TUTORIALS
  • CONTACT

Got Joy Creations

Holiday Foliage With Bright Colors

September 8, 2019

Hey peeps.  I’m so excited as I received my first Simon Says Stamp Stamptember order.  I couldn’t wait to play with this gorgeous stencil called Holiday Foliage from Simon Says Stamp.  As soon as I saw it on the site I knew I wanted to pull out my Therm O Web Deco Foil transfer gel so I could foil with rainbow foil from Therm O Web.  Using the Holiday Foliage stencil and the deco foil transfer gel afforded me the opportunity to make something amazing.

Simon Says Stamp Holiday Foliage

This product is so easy to use.  All you need to do is smooth on some of the transfer gel through a stencil, peel off the stencil and your design off to the side to dry.  Once it is dried (it will go from a creamy white to a shiny clear coating) you are ready to foil.  Shifting the rainbow foil to all use a portion of the colors was perfect for this design.   To adhere the foil to the design I ran this it through my laminator and then the giggled began.  As I peeled back the foil to reveal my design I could of  burst with happiness.  I mean, who wouldn’t love their holiday foliage to be in these colors?

Simon Says Stamp Holiday Foliage

Keeping my panel very simple to not distraction is a perfect way to show this design element.  To keep my panel from laying directly onto my card base, I trimmed it down and placed it on some fog card stock from Simon Says Stamp.  Next I ran my joyful die from Simon Says Stamp through my Gemini Jr. using the Therm O Web foam adhesive sheet.  I peeled off the protective covering and applied some gold deco foil over it.

Now it was time to bring  more gold on my card so I trimmed a strip of foam adhesive and covered it with gold deco foil.  Placing it  neatly down the side of the design piece  I was able to bring the design all together.  I place everything on a white card base and added faux stitching around the foliage piece for some added interest.

I truly love how this came out and I can’t wait to make more background with this stencil and Therm O Web products. To see more projects using Therm O Web products, you can click my Therm O Web gallery.  Thanks for stopping by today. See you back here soon.


Leave a Comment CATEGORIES // Foiling, Holiday Cards, Simon Says Stamp, Thermoweb

Rainbow Foiled Sweet Sisters Heart Card

July 31, 2019

Hey peeps.  I’m back sharing another card using a stencil from Rita Barakat. A sweet rainbow foiled Sweet Sisters Heart card was in order today.  I love love love the rainbow shattered glass foil from Therm-O-Web and I thought it would be beautiful with this stencil.  If you missed my project from last week, you can find it here. You can also find beautiful work designed by Rita here on her blog. So let’s get into the cards I have for you.

The simplicity of this stencil is what works so well for this foil.  The clean lines of this image is a perfect layout to attached foil to. Remember never throw out the negative piece once you are complete.  I will share a card below on how to use it on another card.

Okay, back to my first card.  I sprayed pixie spray onto the back of the stencil to keep it in place while I worked.  Using my stencil pal and some deco foil transfer gel, I laid down a thin layer of gel over the stencil keeping the coat nice and even.  I pulled off the stencil and set the paper aside to dry.  Once this piece was completely dry, I placed a piece of  Rainbow Shattered Glass foil onto of the lines of the design and ran it through my laminator.  The magic happens once you pull back the foil and you get this beautiful rainbow lined image.  Look how gorgeous this is.  (I must admit I did have a little bit of a giggle attack when I say how pretty this was).  Choosing not to color in this image allowed the line work to be the star.

Rita Baralat Rainbow Sweet Sisters Hearts Stencil

I chose to keep the card really clean and simple and added just a quick sentiment to the corner of the card.

Rita Barakat Sweet Sisters Hearts Stencil


Remember I said to not get rid of the negative piece of the foil as you can turn it into another card.  For this card, I pulled the negative piece of the Sweet Sisters Heart stencil and placed it on a toner sheet. I preheated my laminator and ran this panel through it.  Once you peel off the negative piece, the foil sticks to the toner sheet.  You end up with this gorgeous rainbow background.  Isn’t she gorgeous.  The stark black outline from the toner sheet works so great with this stencil.

Rita Barakat Rainbow Negative Sweet Sister Hearts

Again keeping this card simple, I added a simple sentiment and layered this panel on a white card base.

Sweet Sisters Hearts Rita Barakat

I think this might just be my favorite card.  The sparkle of the foil is stunning with this beautiful image.


Thanks for stopping by today everyone.  I hope you have enjoyed your visit here.  Make sure to sign up to my email listing so you will be notified when I have a new post.  Have a great day everyone.

Leave a Comment CATEGORIES // Foiling, Thermoweb

Easy Distress Rainbow Cards

June 11, 2019

Hey peeps.  I’m back today with a new tutorial using rainbows are my inspiration.  So it’s Easy Distress Rainbow Cards up on the blog.  I’m been feeling like I’m losing my mojo and I needed a way to get excited about crafting again.  What better way than to pull out some rainbow influenced colors and make a few cards.

For my cards today I used distress oxide inks, rainbow foil and a stencil.  There are so many ways to be inspired when making a rainbow cards and there are so many variations of styles and techniques.  I’m going to share three with you in the tutorial that I hope inspire you to pull out your colorful paper and get busy. Here’s a few picks of the card before we get started.  The first cards I just pulled out my distress oxide inks and got busy.  I love how simple and colorful this card came out.


For my next card I used the distress stripe toner sheets from Therm-O-Web and the rainbow shattered glass foil.  Oh this foil is soooo yummy and beautiful.  I have all the products I used listed below.


And for my last card, I pulled out a stencil and used the transfer gel and rainbow foil to create a fun distressed circle background.


Okay on to the tutorial I know you have been waiting for.  Please let me a comment on which card you liked the best and what inspires you to get creative. You can watch it here or over at my Youtube channel mzdanajoy.  I’ve used affiliate links for your convenience at no cost to you.

Thanks for stopping by today.  I’ll see you back here soon!

Dana

Leave a Comment CATEGORIES // Distress Inks, Foiling, Thermoweb, Tutorials

Working My Green With A St. Patrick’s Day Deco Foil Birthday Card

March 9, 2019

Hey peeps.  I’m working my green today making a St. Patrick’s Day Deco Foil card.  My birthday is on St. Patrick’s day and it’s a special on this year because my twin and I are turning 50!  Yes we made it to this fabulous age and I couldn’t be happier.  You see when I turned 40 I was diagnosed with colon cancer.  It was the scariest time of my life and for my family.  We were so fortunate that the cancer was easily removed and I am almost 10 years cancer free.

Anyway back to the St. Patrick’s Day card for my sister. I started with a beautiful blend of distress oxide inks for my background.  Next I added some splattered gold splatter to the background as well.  Wanting to pull in some beautiful gold foil on my card, so I grabbed my deco foil foam adhesive sheets and foil sheets and got busy.

My completed card looked great with all the gold and green.  Perfect for St. Patrick’s Day. You can see more of the deco foil in action on this video I made during my holiday card series.


Deco Foil Birthday Card


Deco Foil St. Patrick's Day Birthday Card


Here’s a quick tutorial of how this card came together.  I’ve used affiliate links at no cost to you.


Thanks for stopping by.  I’ll be back tomorrow with another video sharing another St. Patrick’s Day themed card.  Have a great day everyone.

Leave a Comment CATEGORIES // Concord & 9th, Distress Inks, Foiling, Tutorials

Holiday Card Series 2018 – Day 4

November 12, 2018

Hey peeps.  It’s Monday and I’m back with the Holiday Card Series 2018 – Day 4.  I’m so excited to share with you an easy technique to produce really great cards.  No stamping required for this one and it’s easy to mass product.

For my card today I’m using foil, scor-tape and a large graphic die cut to make quick, fast and a hurry cards.  You can pull out any color foil for this project and any width scor-tape.  The design concept is easy to follow and you can change it up anyway you want.


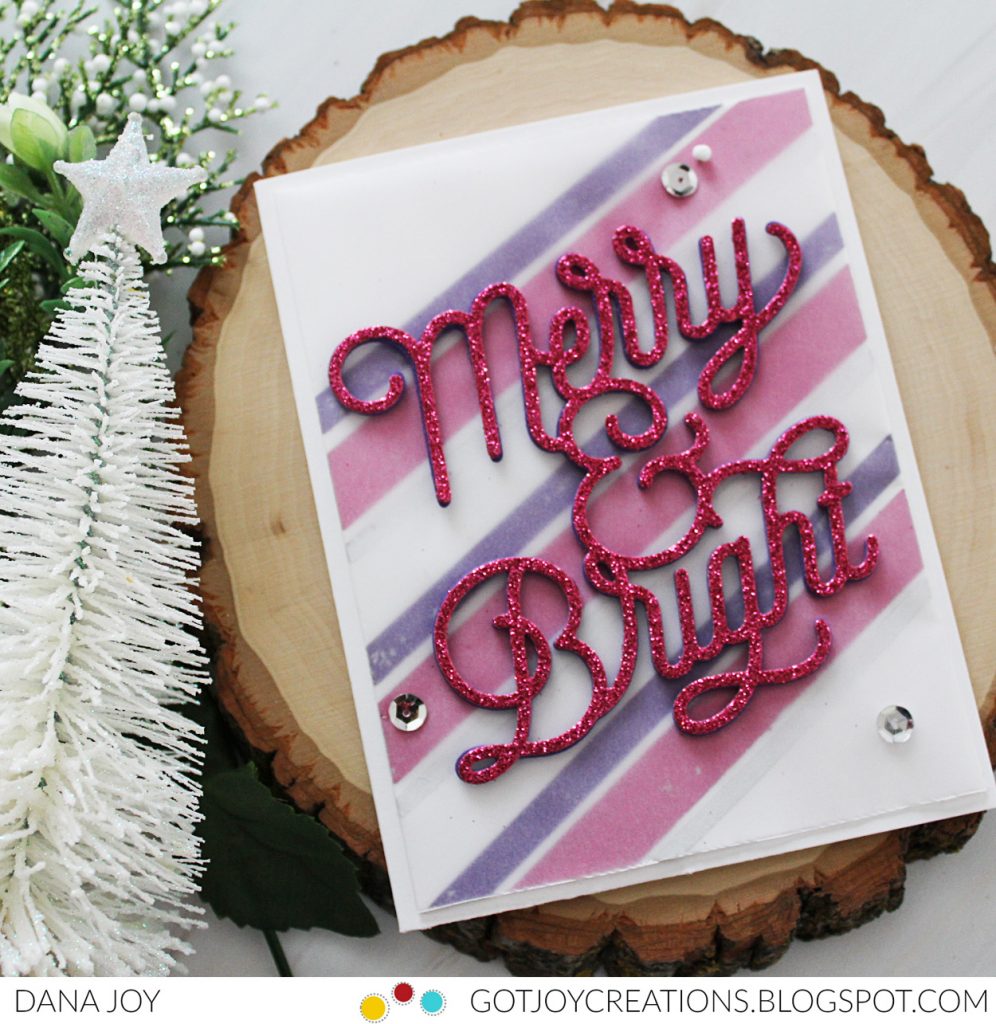
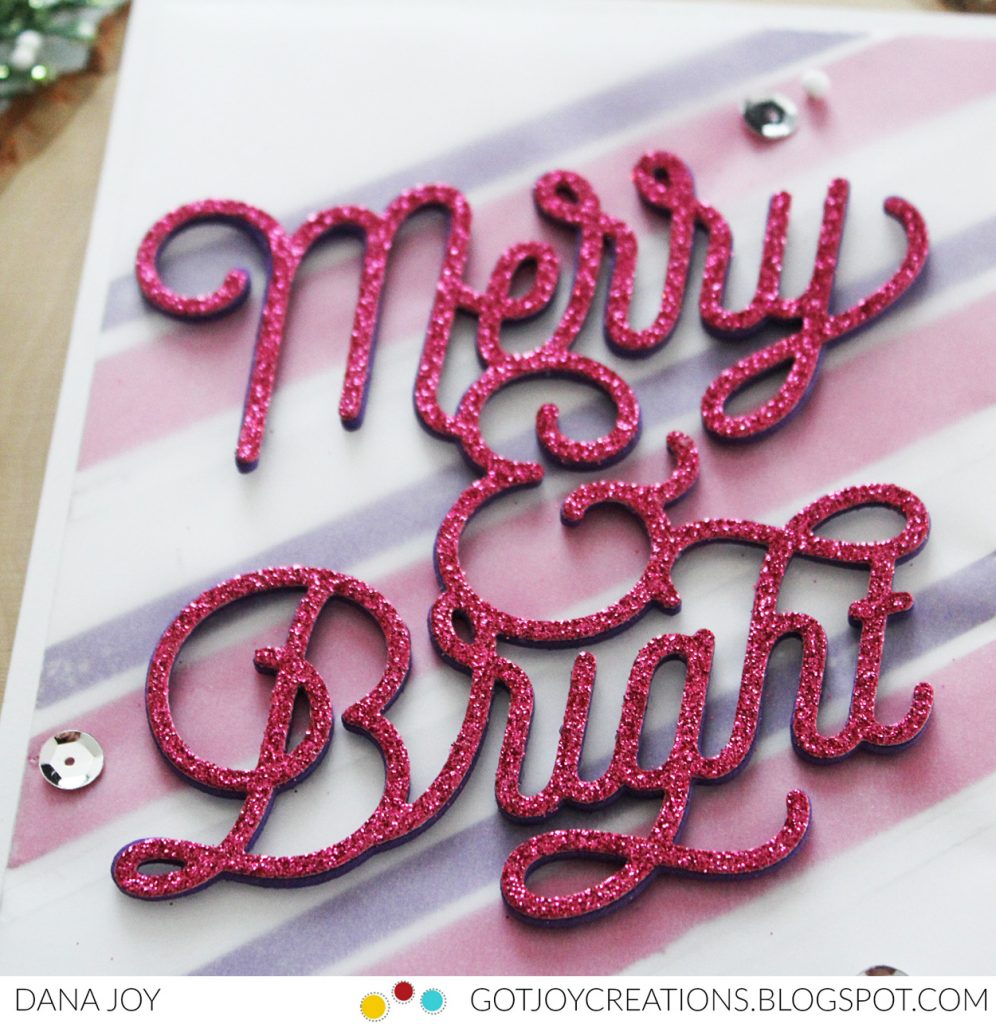
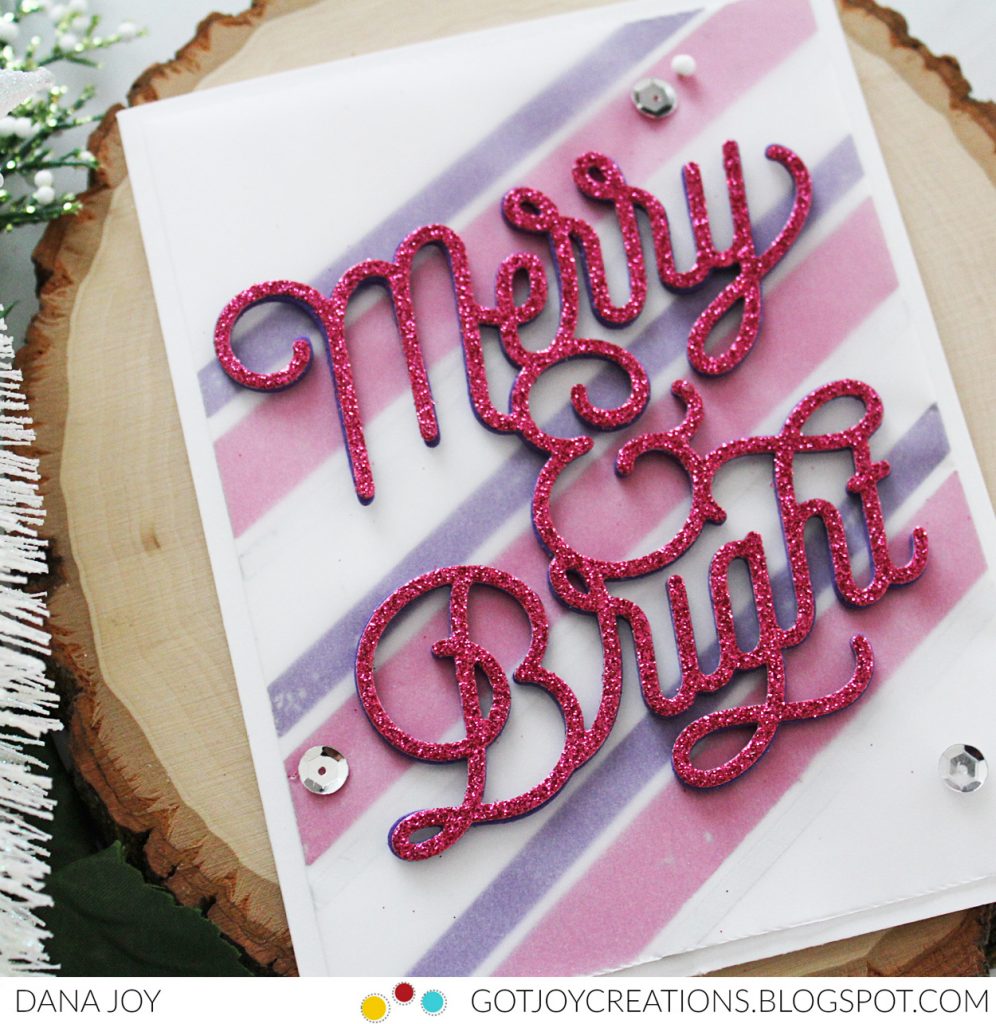
Pairing the foil with a light sheet of vellum tones down the harshness and adding glitter paper for the sentiment really makes this card stand out.


Here’s a quick tutorial.  You can watch it here or over at my Youtube channel mzdanajoy.  I’ve used affiliate links for your convenience at no cost to you.


Thanks for stopping by today.  If you’ve missed Days 1-3 you can find it here on my Holiday Card Series 2018 playlist.. See you back here tomorrow for the 25 Days of Christmas tags blog hop.

Leave a Comment CATEGORIES // Christmas Cards, Concord & 9th, Foiling, Holiday Card Series, Holiday Cards

  • Facebook
  • Instagram
  • Periscope
  • Pinterest
  • YouTube

Hello

Hello

Owner of Got Joy Creations. I have a great passion for making items that bring joy and smiles to others.

LOOKING FOR SOMETHING?

Subscribe to Updates

Ink Combos Guide

Ink Combos Guide

POWER PUFFS ENAMEL PIN

Power In These Puffs

BUY YOUR PIN NOW

ARCHIVE

Copyright

I ask that you please do not copy my work for submission to magazines or contest. All contents on this blog are © Dana Joy. I love sharing my work but any direct copying from my blog is infringement of copyright. However, if you are inspired by my projects please feel free to recreate them for your own personal use.

CATEGORIES

  • Alcohol Inks
  • All Occassion
  • Altenew
  • Avery Elle
  • Birthday Cards
  • Blog Hop
  • Brea Reese Alcohol Inks
  • Card Series
  • Christmas Cards
  • Concord & 9th
  • Copic Coloring
  • Crossstitching
  • Decofoil Flock
  • Distress Inks
  • Fall Cards
  • Foiling
  • Friendship
  • Gift tags
  • Gina K. Designs
  • Hero Arts
  • Holiday Card Series
  • Holiday Cards
  • Ink On 3
  • Interactive Cards
  • Mama Elephant
  • MFT
  • Miss You
  • Mix Media
  • Papertrey Ink
  • Pink and Main
  • Pink Fresh Studio
  • Pretty Pink Posh
  • Shaker Cards
  • Simon Says Stamp
  • spellinders
  • Stitching
  • Sunny Studio
  • Technique Tuesday
  • The Daily Marker 30 Day Color Challenge
  • The Ink Blot Shop
  • Thermoweb
  • Thinking Of You
  • Tutorials
  • Uncategorized
  • Unity Collection
  • Valentine's Day
  • Waffle Flower
  • watercolor

mzdanajoy

It's countdown time to the @heroarts My Monthly He It's countdown time to the @heroarts My Monthly Hero. Oh this kit is going to have your heart fluttering. I can't wait to see what you will create with this kit. Starting this month, Hero Arts is adding a Premium Kit for purchase. This kit will have you creating even more beautiful cards.

The add-ons this month are equally as gorgeous. Remember this release goes live MONDAY February 6, 2023 at 1:00PM EST.

#heroarts #heroartsmymonthlyhero #cardmakingkit #cardmakersofinstagram
Morning everyone. I’m sharing a sparkly card I m Morning everyone. I’m sharing a sparkly card I made using products from the @heroarts Unity Collection. 

This card is to remind my family and friends that they matter and are amazing human being. 

The Unity Collection is the perfect way to share cards with your friends that feel underrepresented! The core of this collection is just that. Share love and respect to people who may not look like you, think like you or embrace life like you. We all want to be seen and heard in this world. 

Also who won’t want a sparkly card to showcase in their space. And a rainbow at that!! 
🫶🏻🫶🏼🫶🏽🫶🏾🫶🏿

#heroartsunitycollection #heroarts #iseeyourbeauty #cardmakers #blackcrafters #blackcardmakers
To wrap up the Valentine's Day card series for 202 To wrap up the Valentine's Day card series for 2023, I decided to pull out my alcohol inks that I have not played with in such a long time. As a HUGE morning coffee lover, I decided to share this non traditional color palette for my last card.

The tutorial up is on my Youtube with a few tips and tricks to make a super fun and coffee inspired card. You can find the link in my profile. The products that I used will also be link there.

#coffeelovercrafts #alcoholinkbackground #cardmakingtutorial #cardmakersofinstagram #cardmaking #cardmakingismysuperpower #handmadecards
Good morning everyone. I have the great honor to o Good morning everyone. I have the great honor to on the @sctmagazine blog today featuring products from the @heroarts Unity Collection. February is Black History Month and sharing products from this collection fills my heart.

Head on over to the Scrapbook and Cards Today blog to hear all the story behind the Unity collection along with some tips and tricks to you when making your next set of cards. Link is in my bio.

Thank you @sctmagazine for embracing me and the Unity collection. 

#heroarts #heroartsunitycollection #cardmakingideas #cardmakersofinstagram #cardmakingismysuperpower #diversityandinclusion
Let's mix things up on our next Valentine's Day Ca Let's mix things up on our next Valentine's Day Cards. I'm using two products I don't think I've ever used together before. Hot foil plates and stencils for the win! I have two very different color palettes today that aren't your traditional red and pink cards.

I do have a favorite out of these two cards. Can you guess which one? Check out the tutorial to see just how easy these cards were to put together. (link in bio)

#cardmaking #valentinecards #valentinecardseries #cardtutorials #sharehandmadekindness #handmadecards
Good morning everyone! Pam @pocono.pam and I are Good morning everyone!  Pam @pocono.pam and I are kicking off the @heroarts CommUnity Series feature post for 2023! The Hero Arts brand was founded on the ideas of integrity, innovation, and community. This is evident as their products support and empower individuals to be their authentic, creative selves. Pam and I thank you Hero Arts, for continuing to be an essential part of our creative community. 

Please stop by the @heroarts blog to see how Pam and I created our cards using Unity Collection products. 

#heroarts #heroartsunitycollection #cardmaking #cardmaker #diversityisbeautiful #cardmakersofinstagram #danajoy #poconopam #sharehandmadekindess #handmadecards
💔How it all started. 💔 @macaluso.anthony yo 💔How it all started. 💔

@macaluso.anthony you will truly be missed. We had so much fun and the laughs will last a life time. 

Your time here was way too short. I know you are going to have the angels laughing their heads off. Rest in peace Tony.

#gonetoosoon #craftyfriends #friendshipstory #restinpeacemyfriend
Morning everyone. It's another day for valentine c Morning everyone. It's another day for valentine cards. In today's tutorial I made a trio of valentine cards from one background. This was so easy and so much fun to make. Where are my Distress Oxide Spray lovers?

With three colors of @tim_holtz Distress Oxide Sprays these cards were created. I don't have all the sprays and are "collecting" them little by little. The fear of using these sprays have been unleashed. 😂😂😂 After watching more and more videos from Tim, my nervousness of "messing it up" has been replaced by "oh that's so pretty". 

By using just two die cuts from products from the January 2023 release from @heroarts

The link for the tutorial is in the bio and I hope I inspire you to start creating your Valentine's Day Cards. 

#valentinedaycards #distressoxidespray #miixmedia #cardmakingismysuperpower #handmadecards #heroarts
Load More... Follow on Instagram

© 2018 GOT JOY CREATIONS

THEME BY ECLAIR DESIGNS