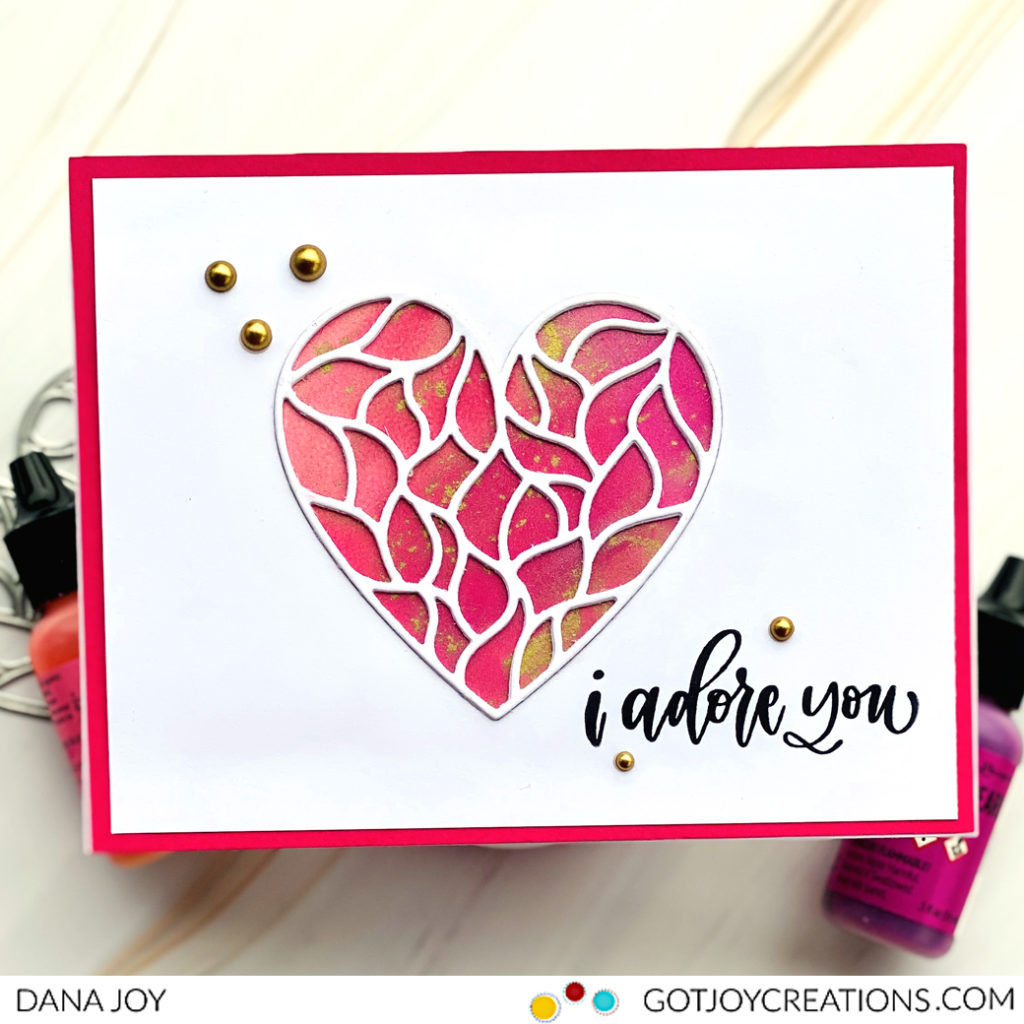
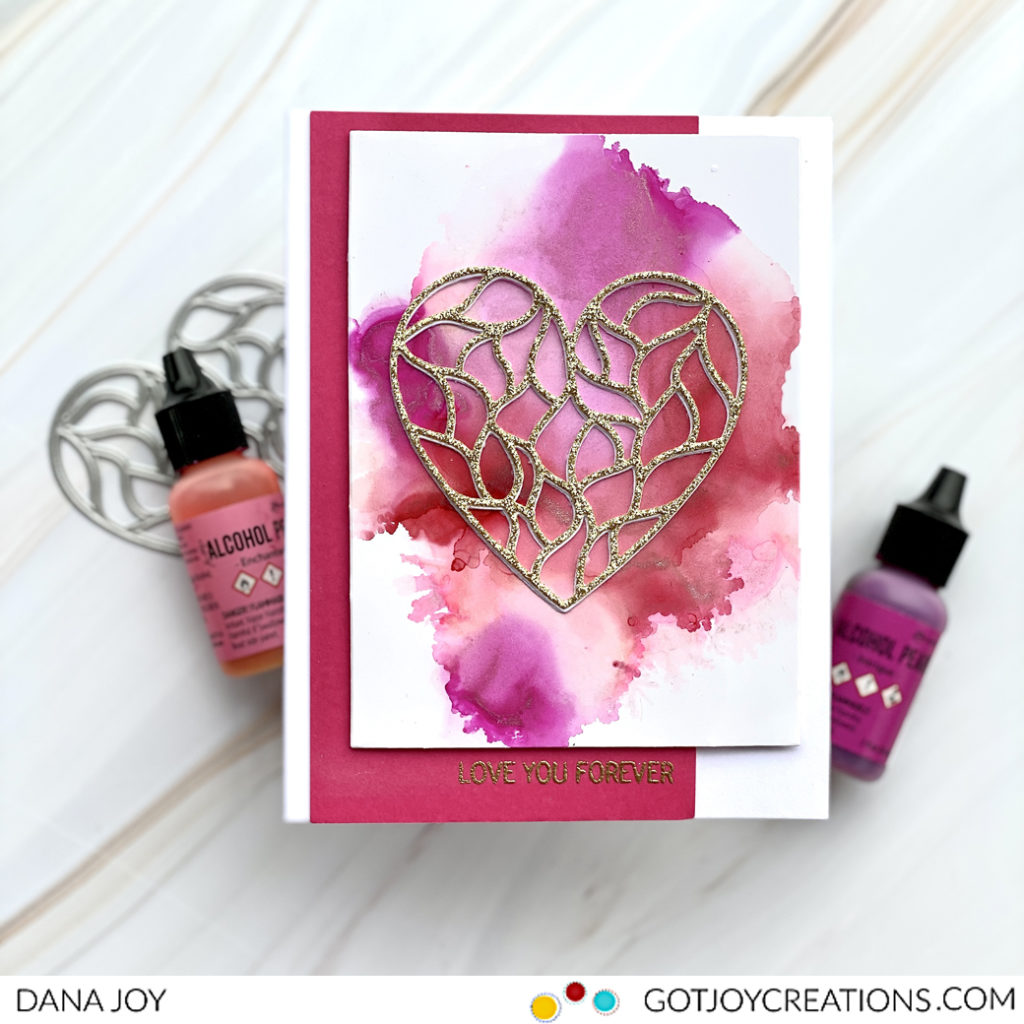
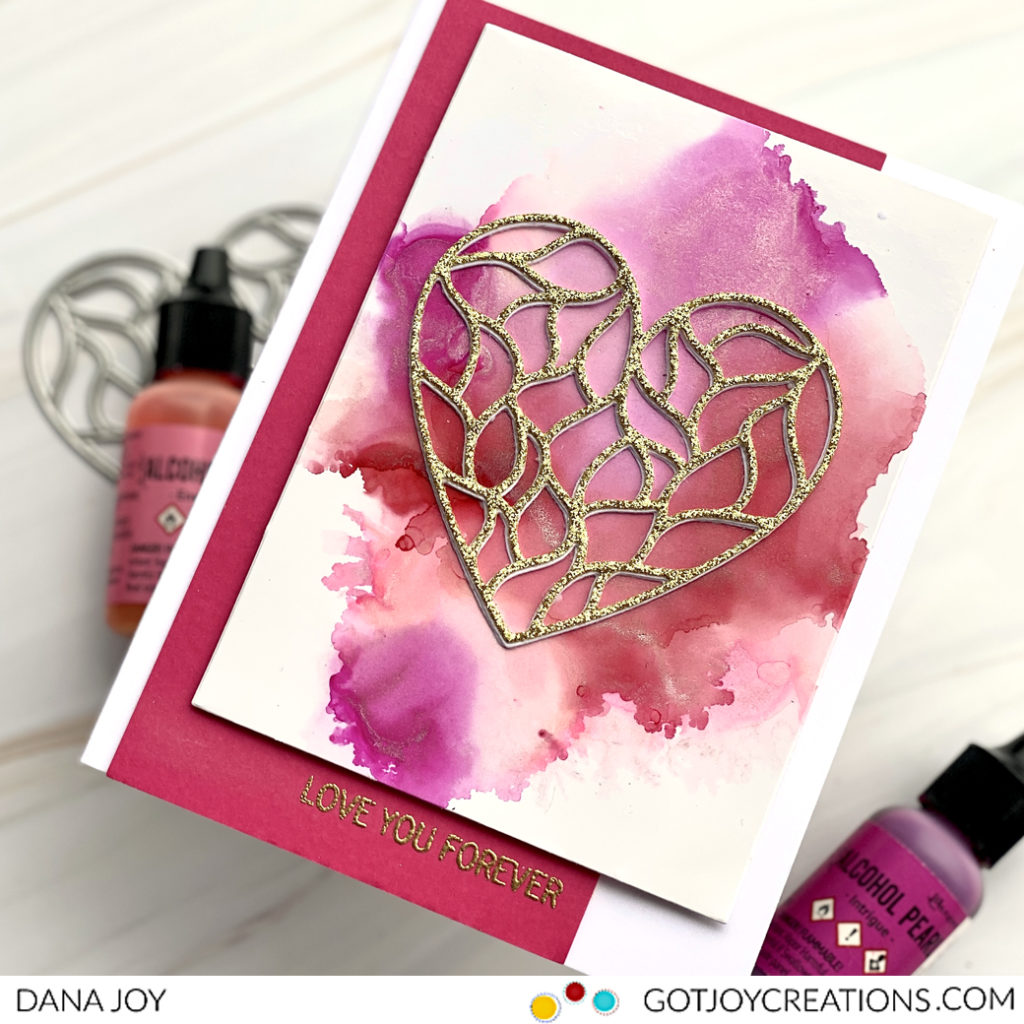
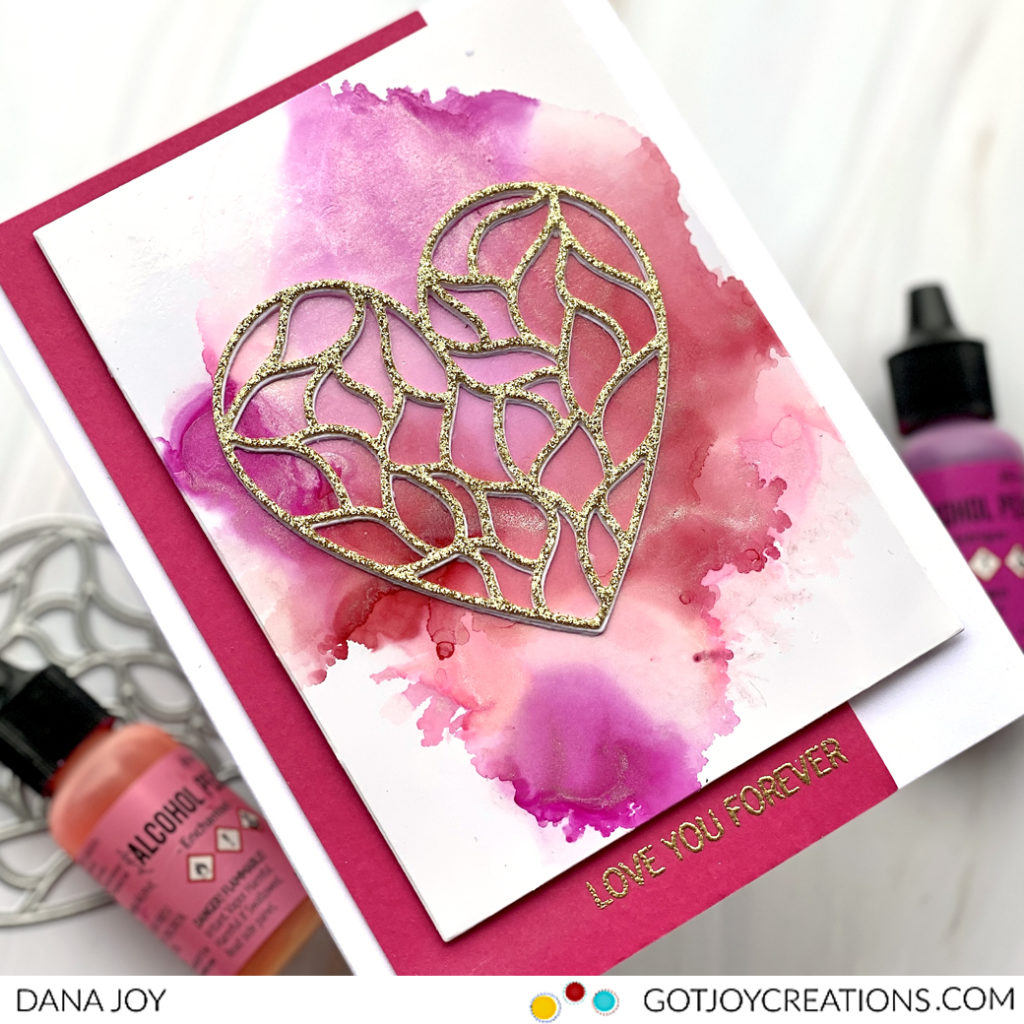
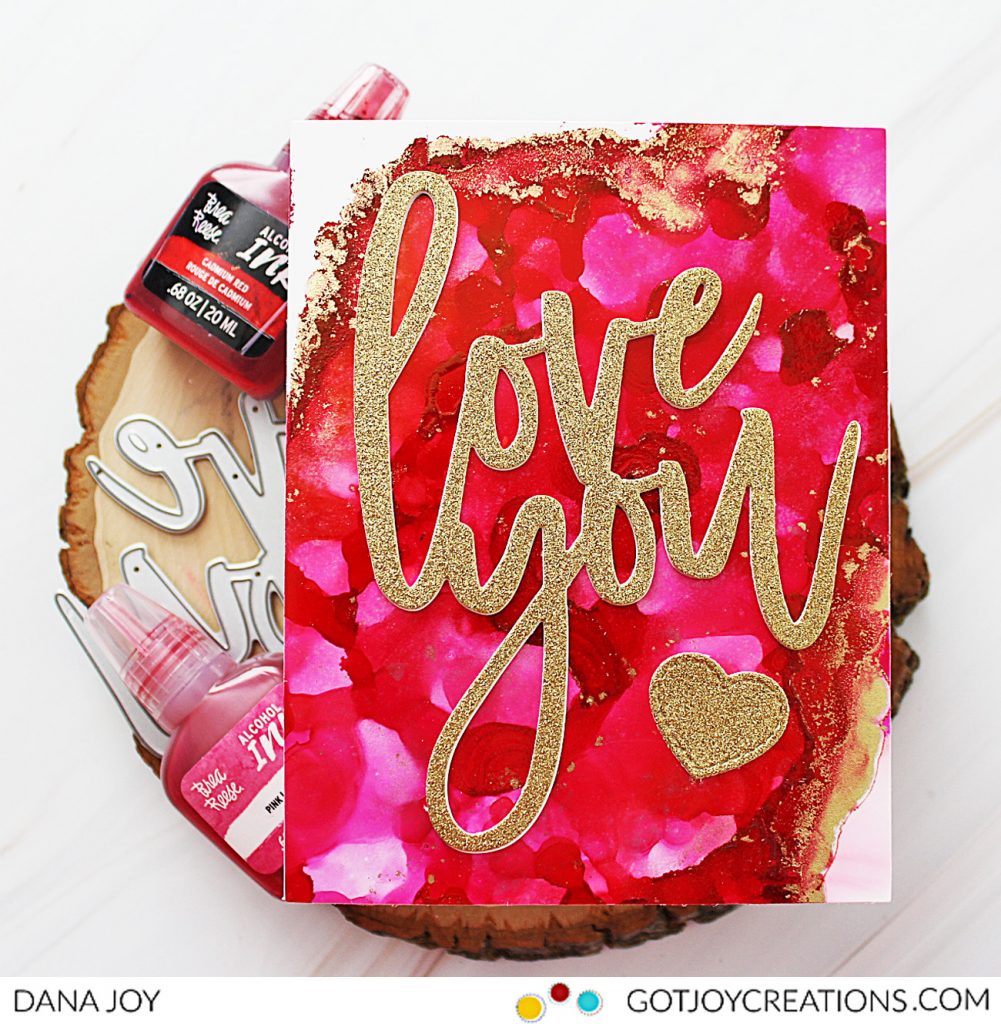
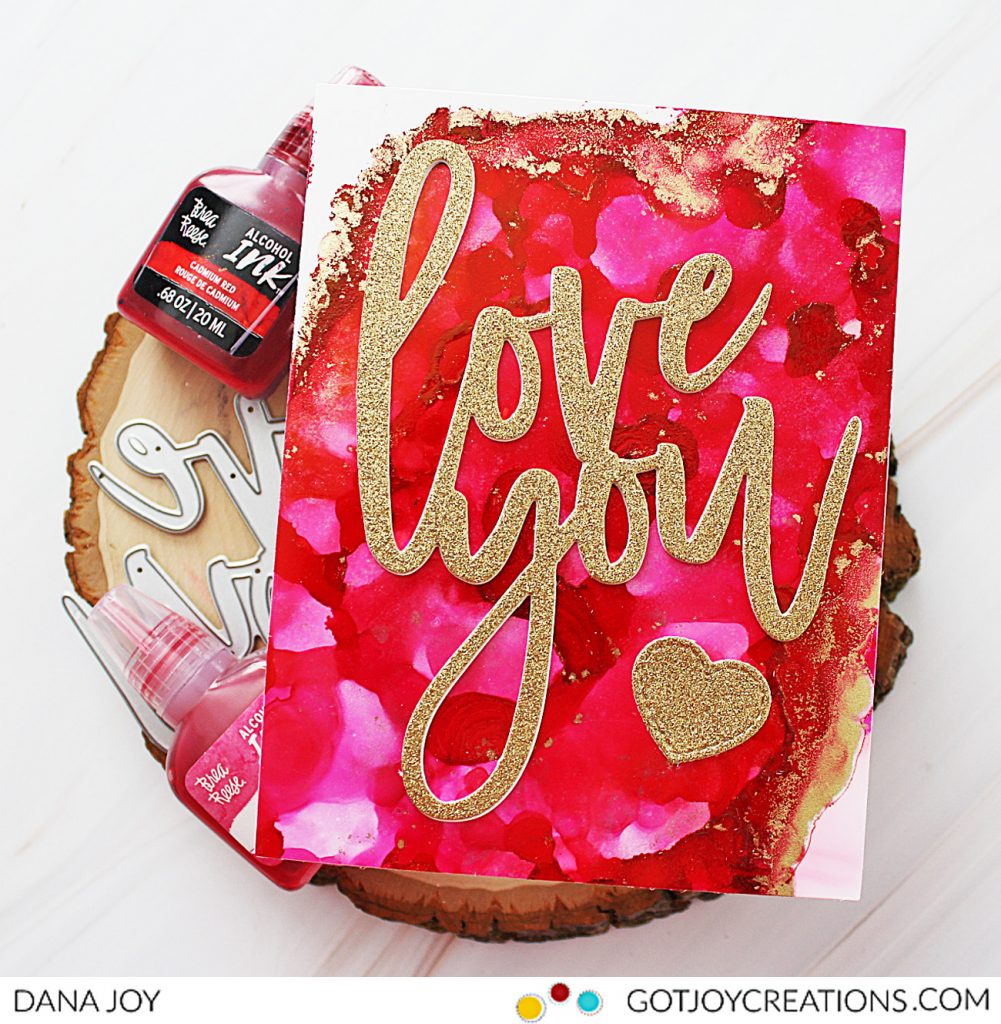
Hey everyone. Making masculine cards can be tough. However, using this alcohol ink for beginners technique for masculine Valentine’s Day card makes it so easy. With just a few products, you can design your own alcohol ink backgrounds for your Valentine’s Day cards.
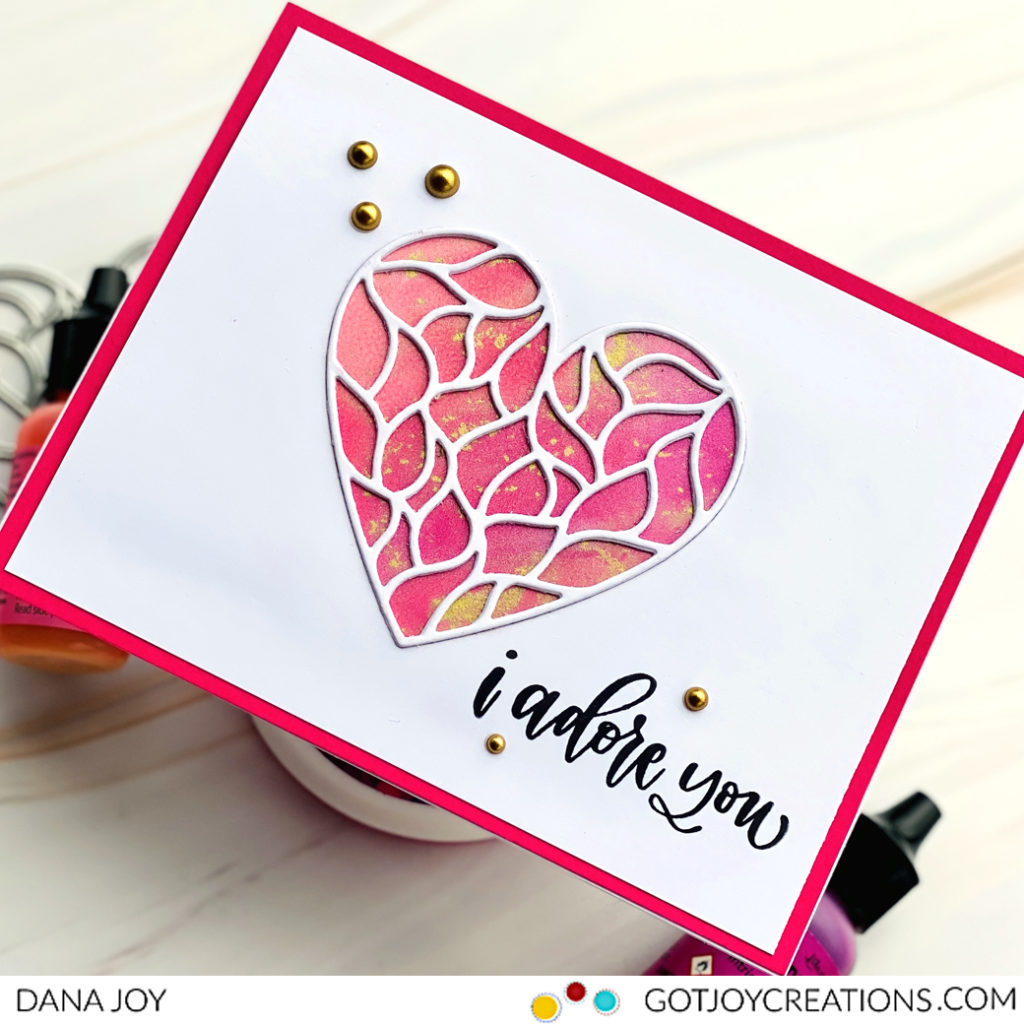
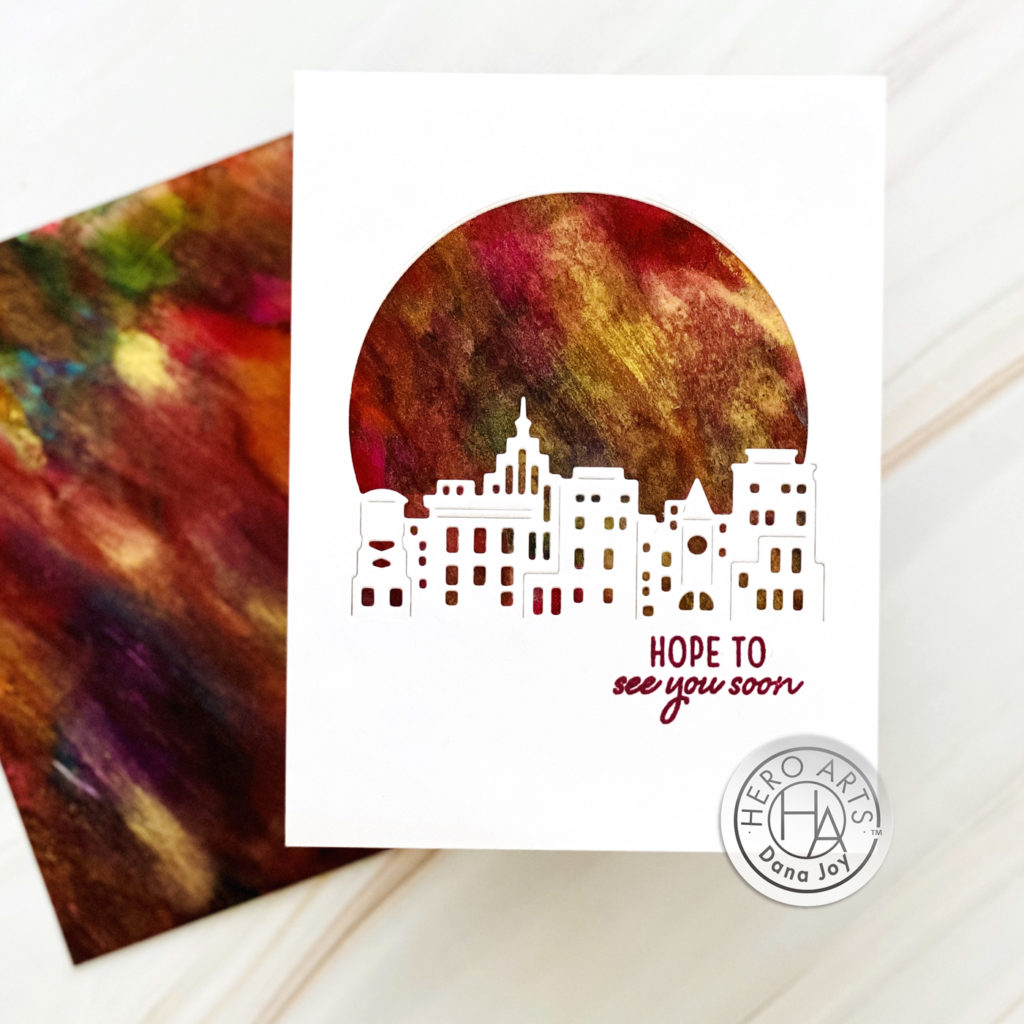
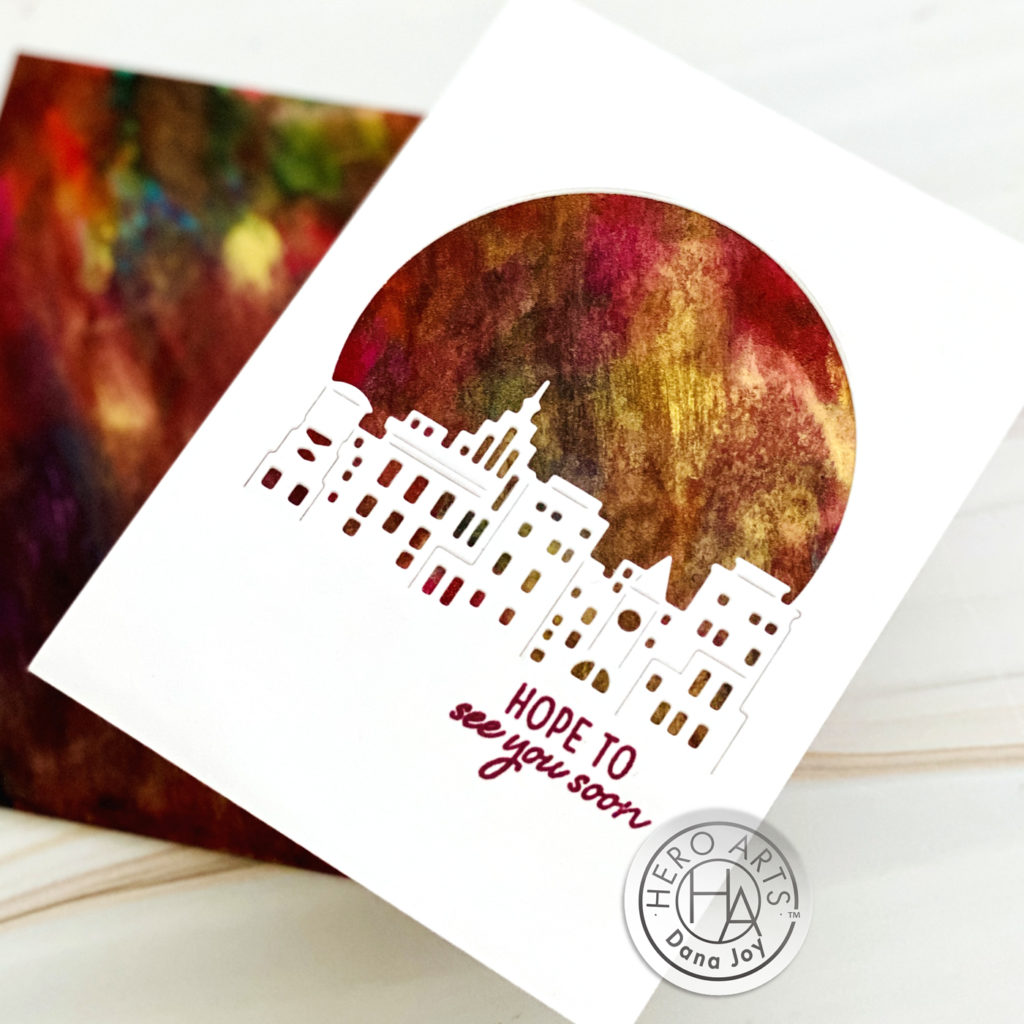
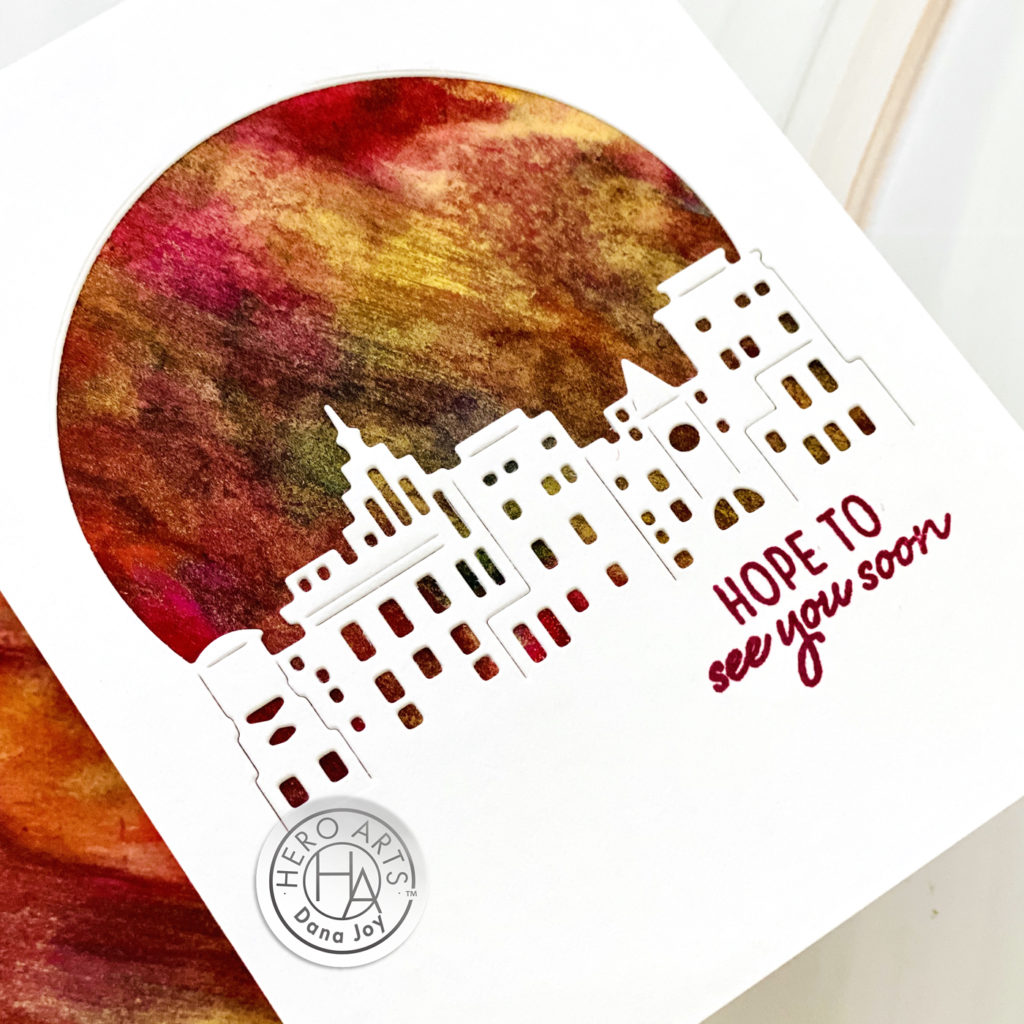
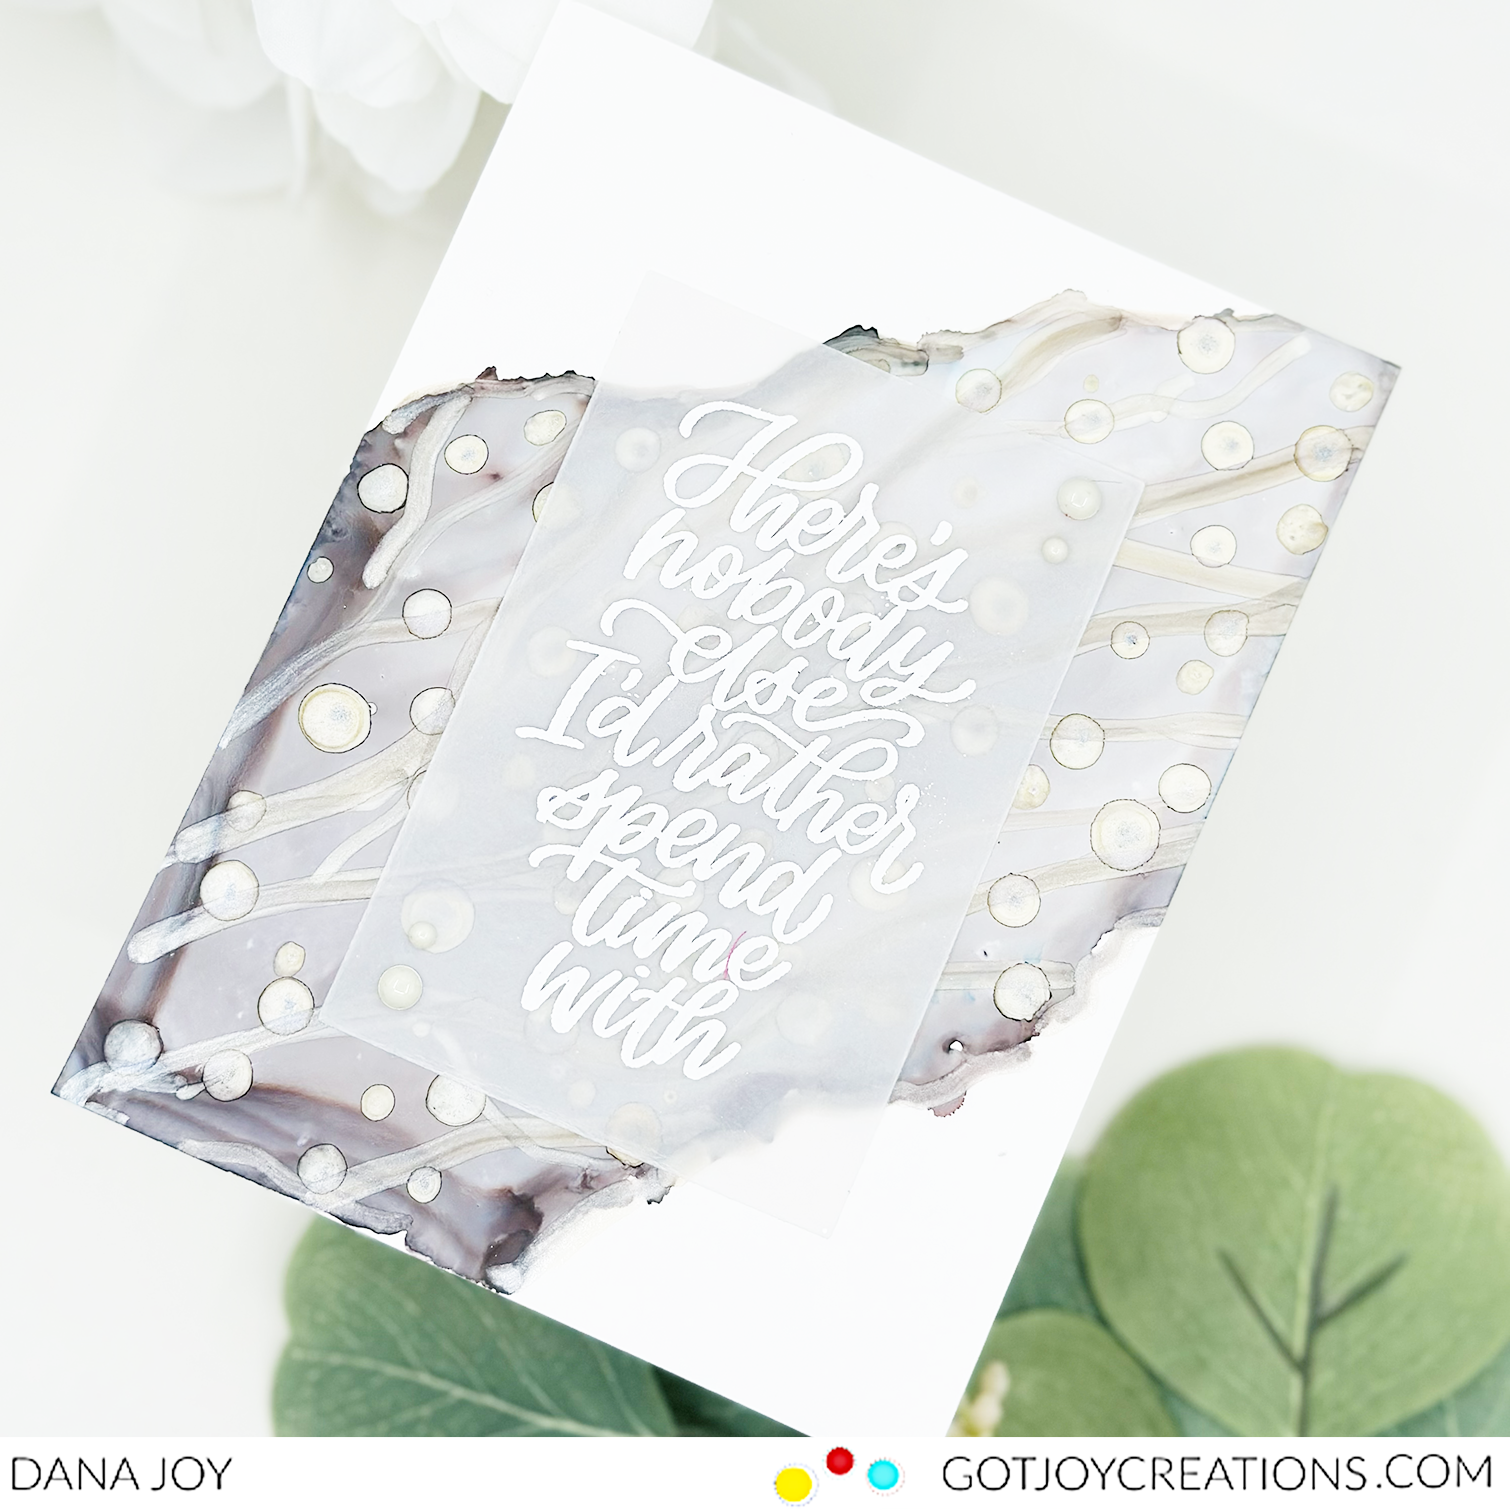
This card we have today was created with just three inks a blending solution. We created the design with a q-tip! How fancy are we with our alcohol inks? LOL
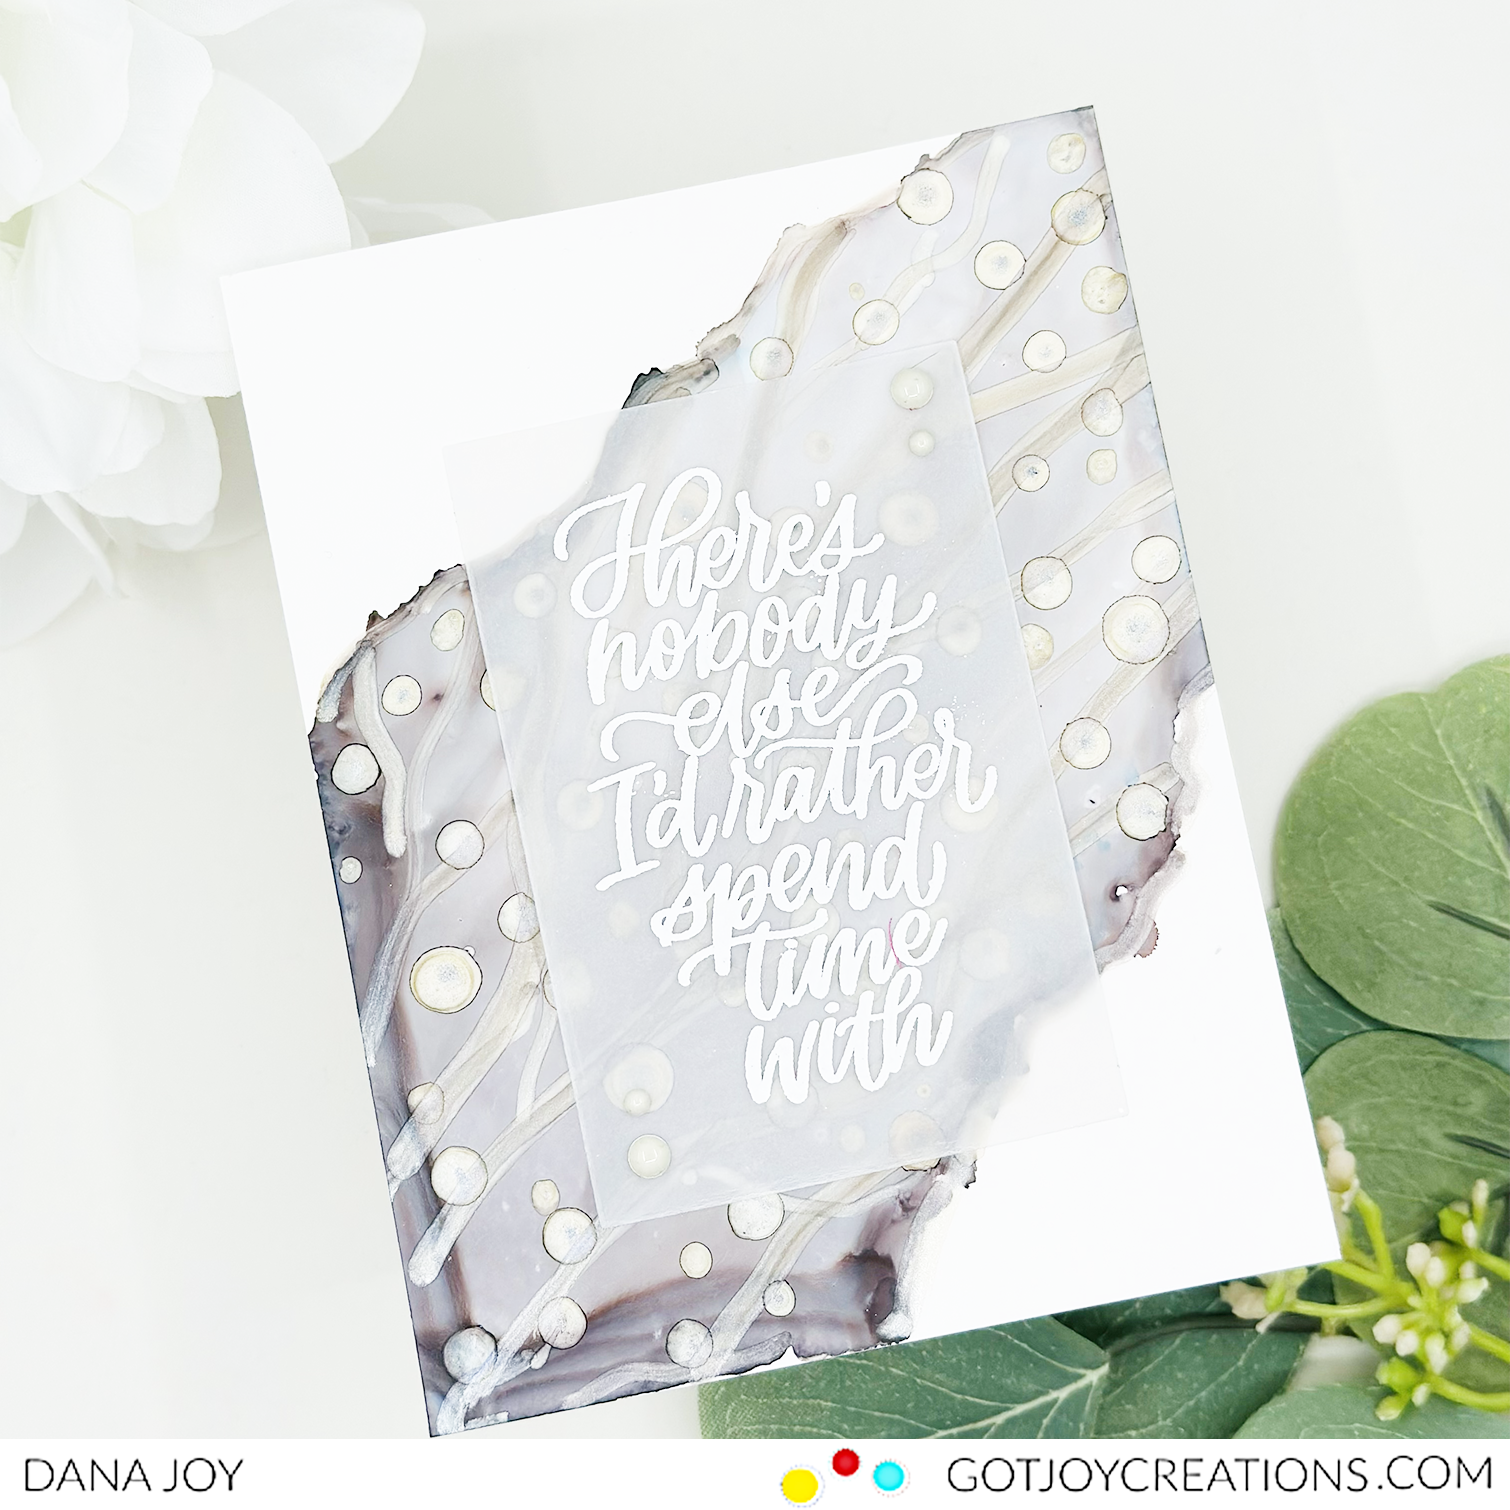
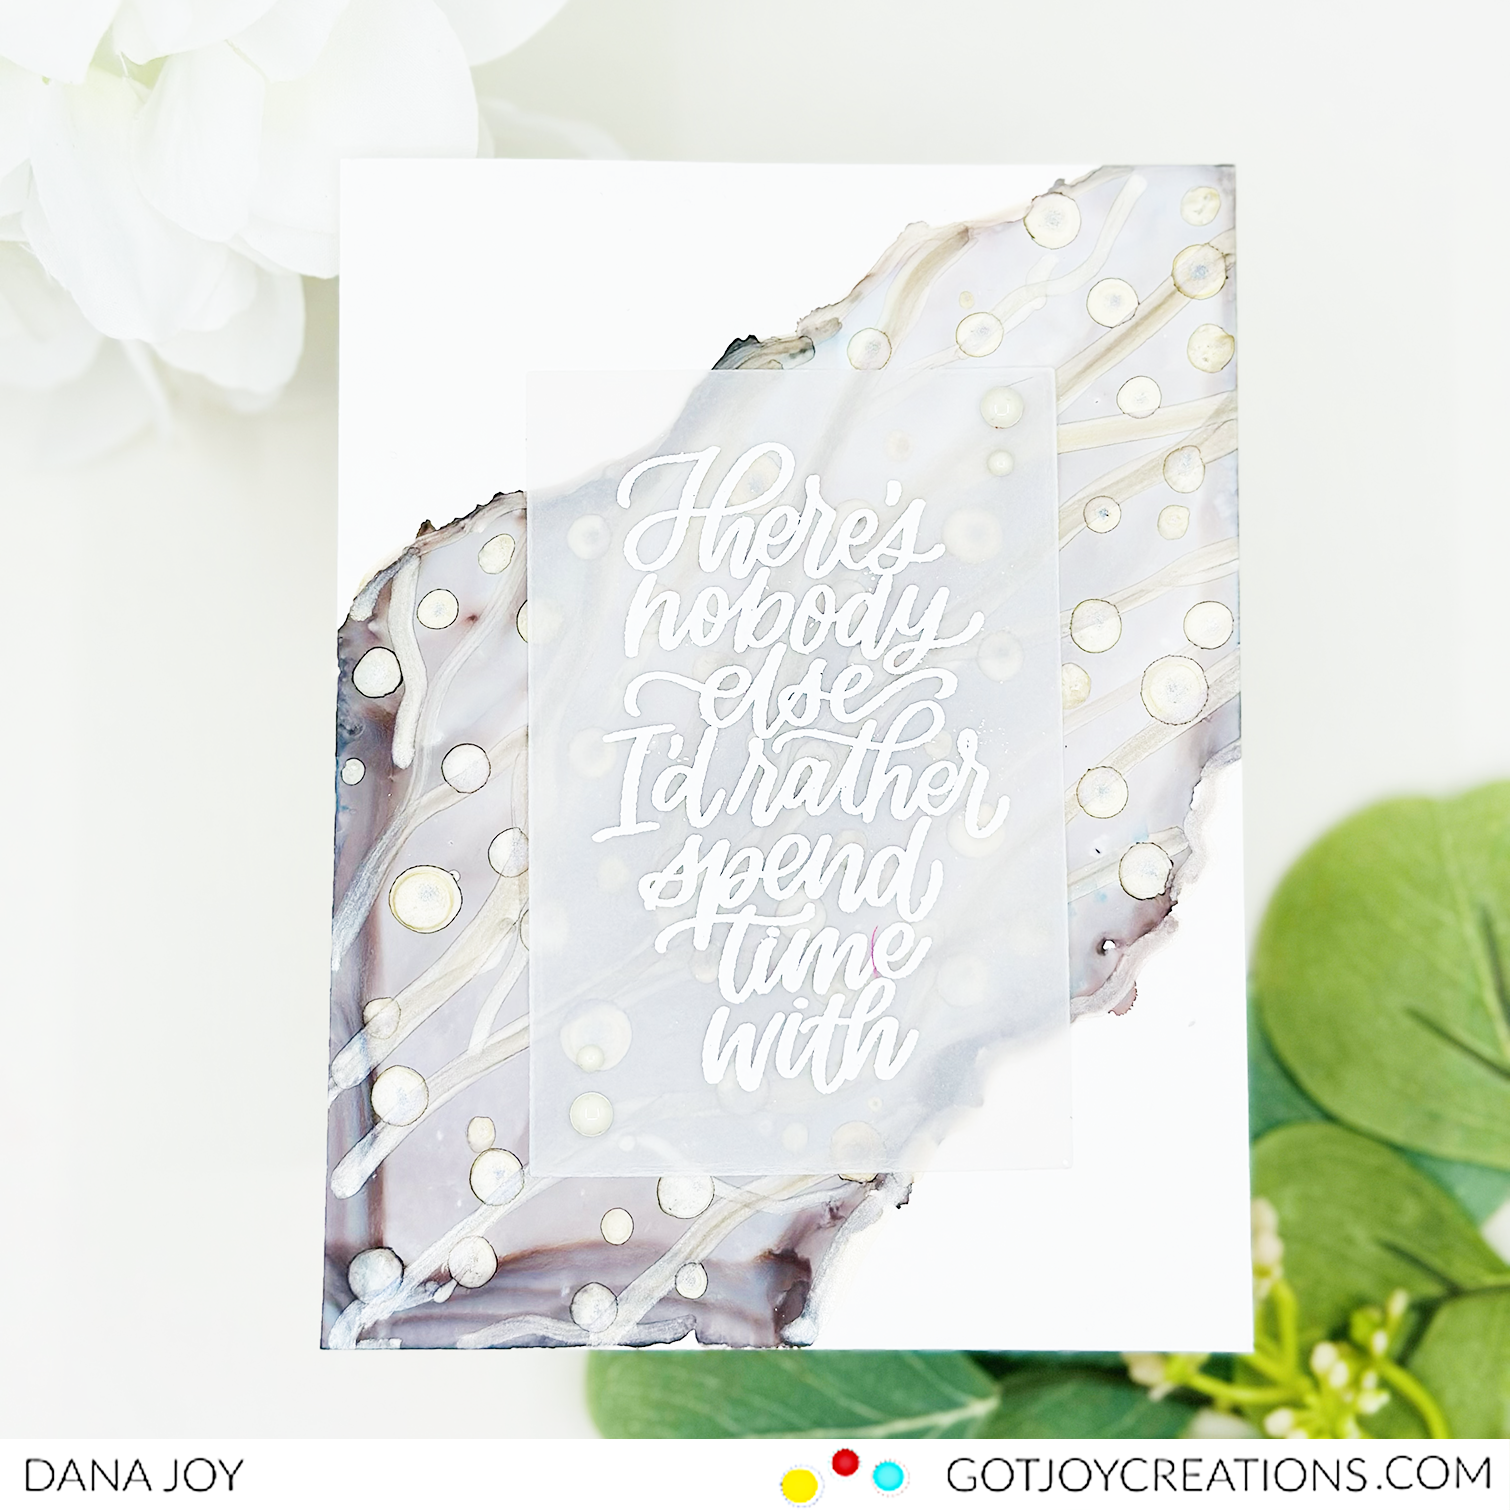
Staying with a clean and simple sentiment heat embossed on vellum, we have a beautiful card that was created in under 10 minutes. I mean it can’t get any easier than that.
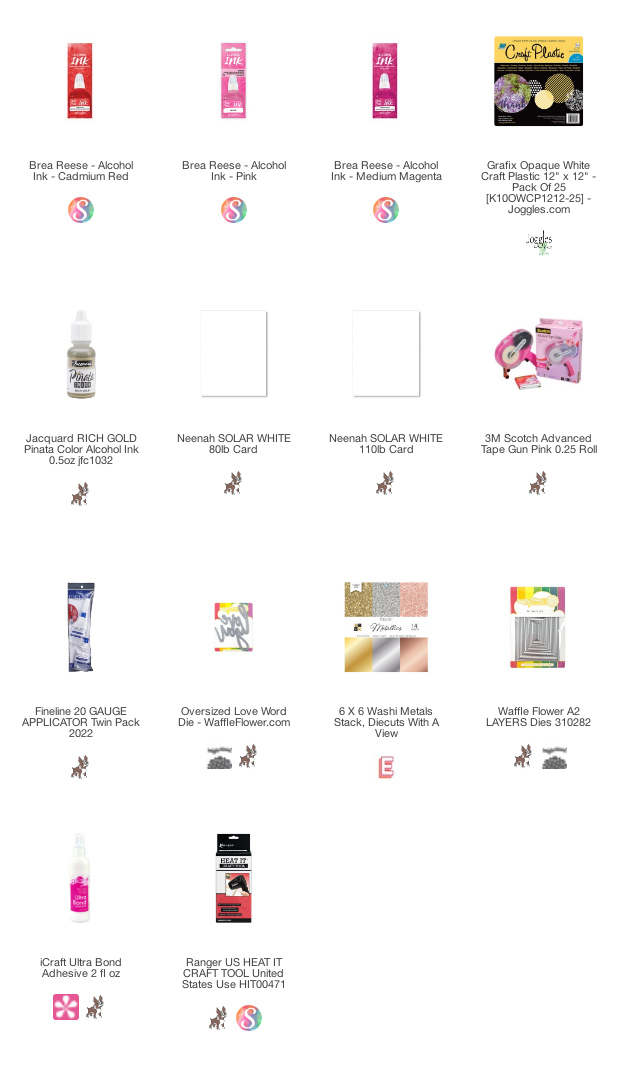
No worries, I have tutorial for you today. You can watch it here or over on my Youtube channel @danajoy. Affiliate links have been used at no cost to you. Thank you for supporting my channel.
Thanks for stopping by today. If you want to check out the entire Valentine’s Day Card Series for 2024, click here.